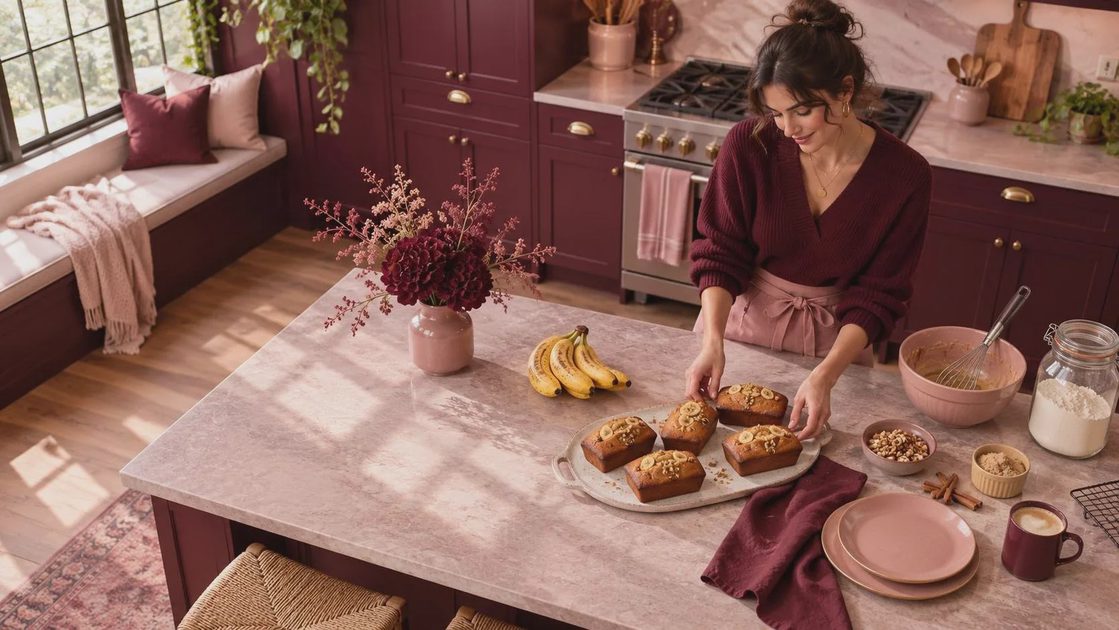
A ripe banana, one bowl, and a little patience are all you need for mini banana bread with a tender crumb and a golden top. This recipe makes one small loaf, about four slices: enough for an afternoon snack without leaving you with a full-size loaf to finish. You can also bake the batter as muffins if that’s the pan you have.
What you’ll need
Plan on about 15 minutes of preparation and 25 to 35 minutes in the oven for a small loaf, plus cooling time. Use a mini loaf pan with a capacity of about 2 cups. Pan dimensions vary, so capacity is more useful than the label on the package. To check yours, measure water into it, then dry it thoroughly before greasing.
For one loaf of mini banana bread, gather:
1 medium ripe banana, mashed, about 1/2 cup or 115 grams
1 large egg
2 tablespoons unsalted butter, melted and slightly cooled, or neutral oil
1/4 cup packed brown sugar, about 50 grams
1/2 teaspoon vanilla extract
3/4 cup all-purpose flour, about 90 grams
1/2 teaspoon baking soda
1/4 teaspoon fine salt
Optional: 1/4 teaspoon ground cinnamon and up to 2 tablespoons chopped walnuts or chocolate chips
A banana with plenty of brown spots will give you the sweetest flavor and mash easily. Measure the mashed fruit rather than guessing from the banana’s size; too much adds moisture that can leave the center heavy. If yours is a little short, add unsweetened applesauce to reach 1/2 cup.
No brown sugar? An equal amount of granulated sugar works, though the flavor will be a little less caramel-like. If using salted butter, reduce the added salt to a small pinch.

How to make mini banana bread
Heat the oven to 350°F. Grease your mini loaf pan, including the corners. If you like, line the bottom and long sides with a strip of parchment, leaving a little overhang to help lift out the loaf.
In a medium bowl, mash the banana with a fork until mostly smooth. A few small lumps are fine. Whisk in the egg, melted butter, brown sugar, and vanilla until evenly combined. The mixture may look a little curdled; that’s not a problem.
Add the flour, baking soda, salt, and cinnamon, if using. Stir gently with a spatula or spoon just until you no longer see dry flour. Fold in the walnuts or chocolate chips, if you’re adding them. Here’s what you’re looking for: a thick, spoonable batter, not a smooth, pourable cake batter. A few tiny lumps are welcome. Vigorous mixing can make the loaf tougher.
Spoon the batter into the prepared pan and level the top. The pan should be no more than about two-thirds full, leaving room for the bread to rise. If your pan is smaller than expected, bake the extra batter in a greased muffin cup rather than filling the pan to the rim.
Bake on the center rack for 25 to 35 minutes. Start checking at 25 minutes: the top should be golden and spring back lightly when touched. Insert a toothpick into the center; it should come out clean or with a few moist crumbs, but no wet batter. Check in a second spot if you hit a chocolate chip.
Let the loaf cool in the pan for 10 minutes, then loosen the edges and transfer it to a rack. Give it at least another 20 minutes before slicing. The crumb is delicate when hot, and a short rest makes neater slices.
Baking without a mini loaf pan
A standard muffin pan is an easy alternative for mini banana bread. Grease or line three to four wells and fill each about two-thirds full. Bake at 350°F, starting to check at 15 minutes. They’re ready when the tops spring back and a toothpick comes out without wet batter.
A larger loaf pan can hold the batter, but the resulting loaf will be quite shallow and may bake faster. Begin checking early. Small oven-safe baking dishes can also work; grease them and leave the same room for rising. Baking time depends on the depth of the batter, so use the toothpick and springy-top cues rather than the clock alone.
If the center sinks or the loaf seems damp
A slightly cracked top is normal for mini banana bread: the outside sets while the center continues to rise. A sunken, sticky middle is different. It often means the loaf needed more time, the pan was overfilled, or there was more banana than the recipe calls for.
If the top is brown but the center still has wet batter on the toothpick, loosely tent the loaf with foil and return it to the oven. Check again in a few minutes. Avoid opening the oven repeatedly early in the bake, when the structure is still setting.
A dense loaf can also come from packing flour into the measuring cup or stirring too much after adding it. For the most consistent result, weigh the flour. Without a scale, spoon it into the cup and level it off instead of scooping directly from the bag.
If the loaf has already cooled and the center is noticeably raw, it’s best not to serve that portion. Next time, check the pan’s capacity and give the center a little longer before taking it out.
Storing and serving your small loaf
Cool the bread completely before wrapping it; trapped steam can make the surface sticky. Keep it covered at room temperature for up to two days. For longer storage, wrap individual slices and freeze them in a freezer bag for up to three months. Thaw at room temperature or warm a slice gently in the microwave.
I like a plain slice just as it is, but a little butter is lovely on a warm piece. For a different batch, try the cinnamon or swap the walnuts for chocolate chips. Keep additions modest so the banana stays at the center of the loaf—and so there’s still enough batter to hold everything together.


No notes yet — write the first one.