
Many baking problems are blamed on technique when the actual causes lie elsewhere. A dense cake, a loaf that refuses to rise, or cookies that spread too far can feel like personal failure. In practice, these results often trace back to ingredients that have lost potency, ovens that do not match their dials, flour that behaves differently than the recipe assumed, or formulas written for conditions the home baker does not have. Recognizing the difference removes unnecessary frustration and points toward useful adjustments.
I have made every one of these mistakes in professional kitchens and at home. The difference is that in a bakery the variables are more controlled and the volume is large enough to absorb small inconsistencies. In a home kitchen the same variables show up more clearly and have a greater effect on a small batch. The five problems that follow are the ones I see most often, both in my own notes and in the questions bakers ask. None of them require advanced skill to correct. They require accurate observation and a willingness to look beyond personal technique.
The goal is not to eliminate every variable. The goal is to identify which variables are actually under the baker’s control and which ones need a different kind of attention.
1. The Cake or Quick Bread Is Dense or Heavy
A dense crumb is frequently attributed to over-mixing or incorrect measuring. Those can be factors, yet they are not the only ones.
Expired or weakened leavening is a common hidden cause. Baking powder and baking soda lose effectiveness over time, especially in humid kitchens or when the container is left open. A cake that rises poorly or collapses after an initial lift often points to leavening that is no longer active. Testing a small amount of baking powder in hot water or baking soda in vinegar gives a quick indication. Fresh leavening produces an immediate, vigorous reaction. Weak leavening produces little or none.
Oven temperature that runs cooler than the dial indicates can also produce a dense result. The exterior sets slowly, the structure does not expand fully, and the crumb remains compact. An inexpensive oven thermometer reveals the difference between the set temperature and the actual heat. Many home ovens run 15 to 25 degrees off; some vary even more between the top and bottom of the cavity.
Flour that is more absorbent than the recipe assumed can tighten the batter and reduce rise. Different brands and protein levels behave differently. A batter that looks thicker than expected may simply need a small additional amount of liquid. In a small batch this adjustment is easy to make by the teaspoon until the consistency matches previous successful versions.
Altitude and humidity play roles as well. At higher elevations leavening gases expand more, and adjustments to flour or liquid are often needed. In very humid conditions flour can absorb moisture from the air, effectively changing the hydration of the recipe. These are environmental factors, not technique errors.
When a cake turns out dense, the first checks are the age of the leavening, the actual oven temperature, and the look of the batter before it goes into the pan. Correcting those variables resolves the problem more often than changing mixing method alone.
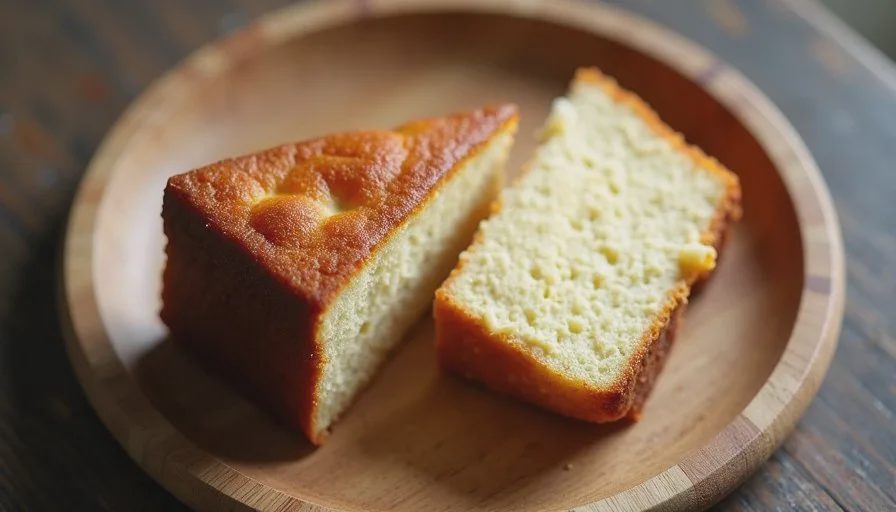
2. The Cookies Spread Too Much or Not Enough
Cookie spread is one of the most visible and frustrating variables. Bakers often assume they creamed the butter incorrectly or used the wrong flour. Those can contribute, yet other factors are equally common.
Butter temperature is critical. Butter that is too warm when mixed produces a dough that spreads rapidly in the oven. Butter that is too cold does not incorporate evenly and can lead to irregular spread. The useful range is cool room temperature—soft enough to press a finger into with slight resistance, but not greasy or melting. In a warm kitchen this window is short. Chilling the shaped dough for 15 to 30 minutes before baking is one of the most reliable ways to control spread regardless of exact butter temperature.
The type of fat matters. Recipes developed with one brand of butter may behave differently with another because butterfat and water content vary. Oil-based cookies spread differently than butter-based ones. Substituting margarine or spreads with lower fat content changes the result further.
Baking sheets influence spread as well. Light-colored aluminum sheets usually produce more controlled spread. Dark sheets absorb more heat and can cause the edges to set faster while the centers continue to spread, or they can encourage overall spreading if the dough is warm. Using the same type of sheet for repeated batches makes results more predictable.
Oven temperature again plays a role. An oven that runs hot can set the edges before the centers have spread, producing thick cookies. An oven that runs cool allows more spread before the structure sets. Confirming the temperature with a thermometer removes one major source of inconsistency.
When cookies spread more or less than expected, the practical sequence is to check butter temperature, chill the dough if needed, confirm the oven temperature, and note the type of baking sheet. These adjustments address the most frequent causes without requiring a complete change in technique.
3. The Bread Dough Feels Too Wet or Too Dry
Dough consistency is often blamed on the baker’s experience with gluten development. In reality, flour is one of the largest variables.
Flour protein content and absorbency differ by brand and even by lot. A recipe developed with one flour can produce a sticky dough with another and a stiff dough with a third. Humidity affects flour as well; flour stored in a humid environment already contains more moisture and will require less liquid to reach the same consistency.
Measuring method compounds the issue. Scooping flour directly from the bag packs more flour into the cup than spooning it in and leveling. Weight measurements remove this variability, yet many home bakers still use volume. When a dough feels wrong, the first useful step is to adjust by feel rather than by the original numbers. A dough that is too wet can take additional flour a tablespoon at a time. A dough that is too dry can take additional water by the teaspoon. The target is the texture described in the recipe—smooth, slightly tacky, or soft—rather than a rigid adherence to the written amounts.
In small batches these adjustments are easy to make and easy to observe. The dough mass is small enough that a single addition changes the feel noticeably. Taking a short note about the flour brand and the final adjustment helps the next bake start closer to the desired consistency.
Yeast activity also affects the perception of dough wetness. A sluggish ferment can leave the dough feeling denser and less extensible. Checking yeast freshness and using liquid at the correct temperature supports proper fermentation and makes the dough easier to handle.
A dough that feels wrong is rarely a pure technique failure. It is more often a conversation between the flour, the environment, and the written formula. Adjusting to the dough in front of you is the practical response.
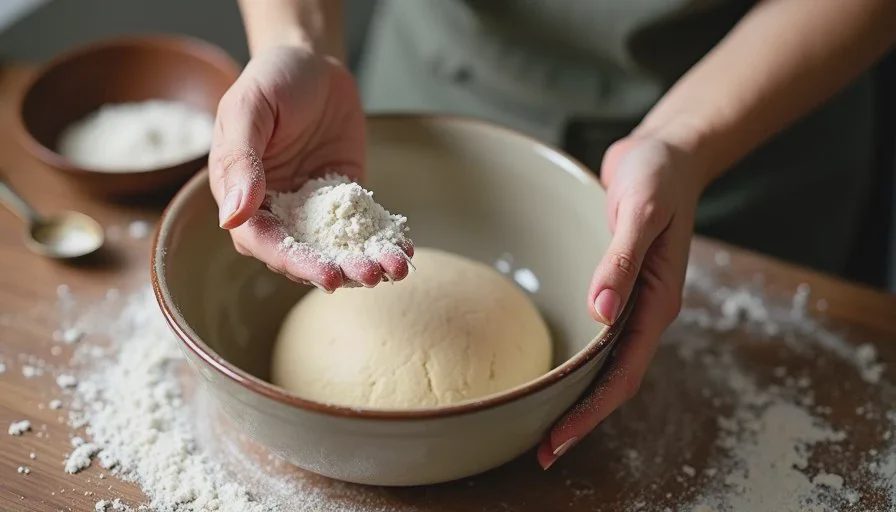
4. The Cake Domes Excessively or Sinks in the Center
Dramatic domes and sunken centers are often attributed to over-mixing or opening the oven door. Those can contribute, yet leavening and oven heat are frequent primary causes.
Too much leavening produces a rapid rise that the structure cannot support, followed by collapse. Too little leavening produces insufficient rise and a dense center. Accurate measuring of baking powder and baking soda is more important at small scale because the total quantities are modest and small errors represent a larger percentage of the whole.
Oven temperature that is too high can set the exterior while the interior is still expanding, creating a high dome and sometimes a crack. The center may then sink as it finishes baking. An oven that is too cool can allow the structure to rise slowly and then collapse before it sets. Again, an oven thermometer is the most direct diagnostic tool.
Pan size and color affect heat absorption and rise. A pan that is larger than the recipe assumes spreads the batter thinner and changes the rise pattern. A darker pan absorbs more heat and can accelerate the setting of the exterior. Using the pan size specified in the recipe, or adjusting baking time when a different pan is used, keeps the results closer to the intended shape.
Batter distribution matters as well. If the batter is thicker in the center of the pan, that area will rise more. Spreading the batter evenly before baking reduces the tendency toward an exaggerated dome.
When a cake domes or sinks, the useful checks are the amount and freshness of the leavening, the actual oven temperature, and the pan used. These factors explain the majority of shape problems that are not caused by major mixing errors.
5. The Flavor Is Flat or the Texture Is Off Despite Following the Recipe
Sometimes the bake looks acceptable but tastes dull or the texture feels wrong even though the steps were followed carefully. Ingredient quality and freshness are the usual explanations.
Flour that has sat for a long time can develop off flavors or lose some of its ability to form a good structure. Whole-grain flours and nut flours decline more quickly than white flour. Cocoa powder can lose intensity. Baking powder that is still active enough to produce rise may still be past its peak for optimal flavor and texture.
Butter and eggs that are close to the end of their freshness window can contribute subtle off notes. Spices that have been open for years deliver far less aroma than fresh ones. Vanilla extract that has been stored in a warm place or left uncapped can lose its character.
Recipe assumptions about ingredient brands also play a role. A formula developed with a specific butter, chocolate, or flour may taste different when those items are substituted. This is not a failure of the baker. It is a difference in the starting materials.
The practical response is to check the age and storage conditions of the key ingredients, replace those that are clearly past their best, and note any brand substitutions that seem to affect the result. Over time the pantry becomes more reliable, and the number of flat or off-texture bakes decreases.
How to Use These Observations
The common thread across these five problems is that the cause is often outside pure technique. Leavening age, oven calibration, flour variability, ingredient freshness, and environmental conditions all influence the outcome. Technique still matters, yet it operates inside those larger variables.
When a bake disappoints, the most useful sequence is to look first at the factors that are easiest to verify: the date on the leavening, the reading on an oven thermometer, the feel of the dough or batter compared with previous notes, and the age of the core ingredients. Adjusting those elements resolves many problems without requiring a complete change in method.
Keeping short notes after each bake turns isolated disappointments into usable information. A line or two about the flour brand, the oven temperature reading, the consistency of the batter, and the final texture builds a personal reference that becomes more valuable over time. Small batches make this process low-cost and low-waste. One imperfect cake or a few cookies can supply the information needed to improve the next attempt.
Baking at home will never be as controlled as baking in a professional kitchen with calibrated equipment and consistent ingredient lots. The advantage of home baking is that the adjustments can be small, immediate, and tailored to the actual conditions of the kitchen. Recognizing which problems are usually not the baker’s fault makes those adjustments clearer and the process less discouraging.
The goal is not perfect results on every attempt. The goal is enough understanding to correct the most common sources of variation so that the next bake has a better chance of matching the intended crumb, shape, and flavor.
Small batch, real life, something worth sharing.

No notes yet — write the first one.