
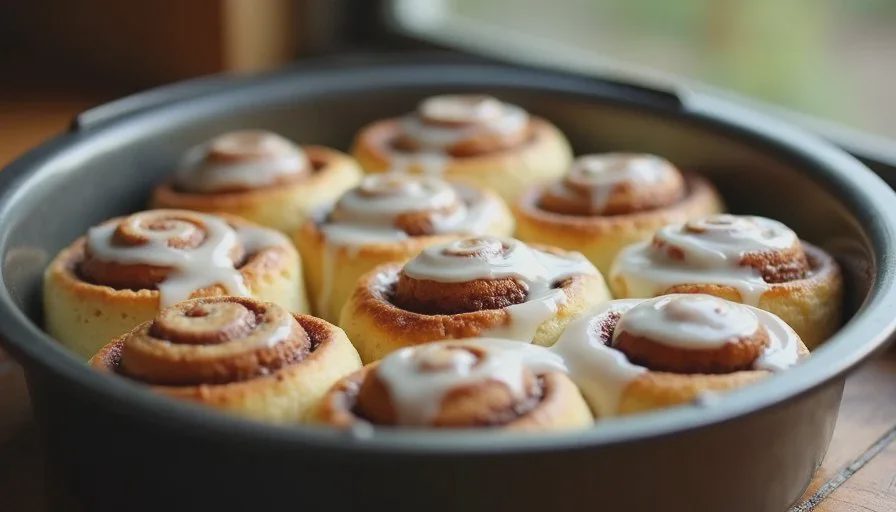
A small batch of cinnamon rolls is one of the most satisfying ways to mark a Saturday morning without committing to a full production. Six to eight rolls are enough to feel generous, yet they can be finished while the crumb is still soft and the icing is still glossy. Larger recipes often produce a dozen or more, which means leftovers that firm up and lose the tender quality that makes the first warm roll so appealing. Scaling the dough keeps the pleasure of the process and the result aligned with the size of the household and the pace of the morning.
I began reducing cinnamon-roll formulas after years of bakery work where large trays were the norm. At home the same recipes created more rolls than we would eat at their peak. Cinnamon rolls are best within a few hours of baking. By the next day the texture changes. A smaller batch removes that problem and makes the project realistic for an ordinary weekend rather than a special occasion that requires clearing the entire day.
This version is designed to be mixed by hand, so a stand mixer is unnecessary. The dough is enriched but not overly heavy, the filling is straightforward, and the timing can be adjusted with an overnight cold rise if the morning needs to stay unhurried. The rolls bake in a small pan that most kitchens already own.
Why a Small Batch Suits Saturday Morning
Saturday mornings often carry a different rhythm from weekdays. There is room for something a little slower and more deliberate, yet the day still has limits. A full batch of cinnamon rolls can turn into a longer project than the morning can comfortably hold, especially when shaping, rising, and baking are all done in sequence. A small batch keeps the active work manageable and the oven time short.
The yield is also practical. Six to eight rolls give each person one or two without creating a surplus that must be managed later. The rolls can be eaten fresh, and any that remain can be finished the same day. There is no pressure to freeze or to watch a large pan of leftovers lose quality.
The smaller dough is easier to handle by hand. Mixing, kneading, and rolling stay within a comfortable scale. The filling can be spread evenly without rushing. The shaped rolls fit in an 8-inch or 9-inch pan, so they rise and bake together without overcrowding or large empty spaces.
These practical advantages do not diminish the result. The rolls still have a soft, enriched crumb, a clear cinnamon-sugar swirl, and a simple icing. The reduced quantity simply makes the entire process more compatible with a real Saturday.
Ingredients and Their Roles
The dough uses ordinary enriched-bread ingredients.
All-purpose flour provides the structure. A moderate protein level keeps the crumb tender rather than chewy. Bread flour can be used if a slightly stronger dough is preferred, but all-purpose works well for this style of roll.
Warm milk hydrates the flour and contributes to softness. Whole milk gives the best richness; 2% also works. The milk should be warm to the touch so it activates the yeast without damaging it.
Butter adds flavor and tenderness. Softened butter is incorporated into the dough so it distributes evenly. Additional melted butter is used for the filling and can be brushed over the baked rolls if desired.
A small amount of sugar feeds the yeast and helps browning. The dough itself is only lightly sweetened; most of the sweetness comes from the filling and icing.
Yeast—instant or active dry—provides the lift. Instant yeast can be mixed directly with the dry ingredients. Active dry yeast benefits from a brief proof in the warm milk. Freshness matters more than the specific type.
Salt balances the flavor and strengthens the gluten network. It should not be omitted.
One egg enriches the dough, improves color, and helps create a soft, cohesive crumb. Room temperature is helpful but not essential at this scale.
The filling is simply softened or melted butter, brown sugar, and cinnamon. A pinch of salt in the filling sharpens the flavor. The icing is powdered sugar mixed with a little milk or cream and, if available, a few drops of vanilla. Both the filling and icing stay minimal so they support the rolls rather than overwhelm them.
These ingredients are pantry staples for most bakers who make any enriched bread. Their reliability comes from consistent measuring and attention to dough temperature and feel.
Mixing and Developing the Dough by Hand
Hand mixing is practical for a dough this size.
Combine the warm milk, yeast, and a pinch of the sugar if using active dry yeast, and let it stand until foamy. If using instant yeast, the milk can be added with the other wet ingredients.
Add the remaining sugar, the egg, and the softened butter. Stir until roughly combined. Add the flour and salt. Mix with a spatula or wooden spoon until a shaggy dough forms and no dry flour remains.
Turn the dough out onto a lightly floured surface or continue in the bowl. Knead gently by hand for 6 to 8 minutes. The motion is a steady press-and-fold rather than an aggressive technique. The dough will become smoother and more elastic. It should feel soft and slightly tacky but not sticky enough to leave large amounts of residue on the hands. Add flour sparingly if needed; a slightly tacky dough produces a more tender roll than a dry one.
The small quantity makes it easy to feel when the dough has enough strength. It should hold a shape and stretch without tearing immediately. Perfect windowpane development is not required; adequate gluten for a soft yet structured crumb is enough.
Place the dough in a lightly greased bowl, cover it, and let it rise until roughly doubled. In a kitchen around 72–75°F this usually takes 60 to 90 minutes. The dough is ready when a gentle finger dent remains rather than springing back completely.
Filling, Shaping, and the Final Rise
Once the dough has risen, turn it out onto a lightly floured surface and roll it into a rectangle roughly 10 by 12 inches. The exact dimensions are less important than an even thickness of about one-quarter to one-third inch.
Spread the softened or melted butter over the surface, leaving a narrow border along one long edge. Sprinkle the brown sugar and cinnamon evenly over the butter. A light hand prevents the filling from leaking excessively during baking; a generous hand produces a more pronounced swirl. Both approaches work.
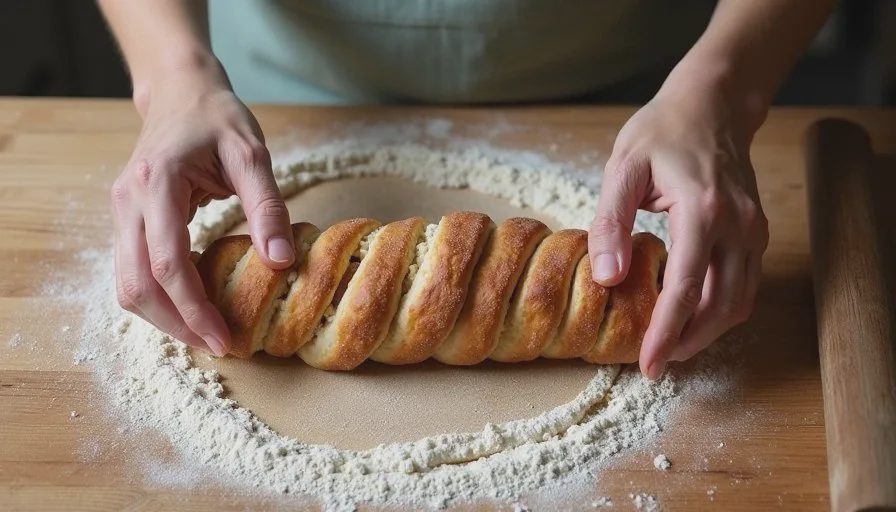
Starting from the long edge opposite the border, roll the dough into a tight log. Pinch the seam to seal. Slice the log into six to eight even pieces with a sharp knife or a piece of dental floss. For cleaner cuts, dental floss can be slid under the log, crossed over the top, and pulled firmly.
Arrange the rolls in a greased 8-inch or 9-inch pan, leaving a little space between them so they can expand. For pull-apart rolls, place them closer so they touch during the final rise.
Cover the pan and let the rolls rise until they look puffy and have expanded noticeably. This usually takes 30 to 45 minutes at room temperature. The rolls are ready when a gentle poke leaves a slight indentation that fills back slowly.
For a more relaxed Saturday morning the shaped rolls can be covered and refrigerated overnight. The next morning, remove them from the refrigerator and allow additional rising time while the oven preheats. The cold overnight rise develops flavor and shifts most of the work to the previous evening.
Baking and Icing
Preheat the oven to 350°F to 375°F. A moderate temperature allows the rolls to expand fully and brown evenly without hardening the exterior too quickly.
Bake until the tops are golden and the internal temperature reaches approximately 190–195°F. Total time is usually 20 to 28 minutes depending on the pan and the size of the rolls. Rotate the pan halfway through if the oven has hot spots. The rolls should look fully risen and feel set rather than doughy in the center.
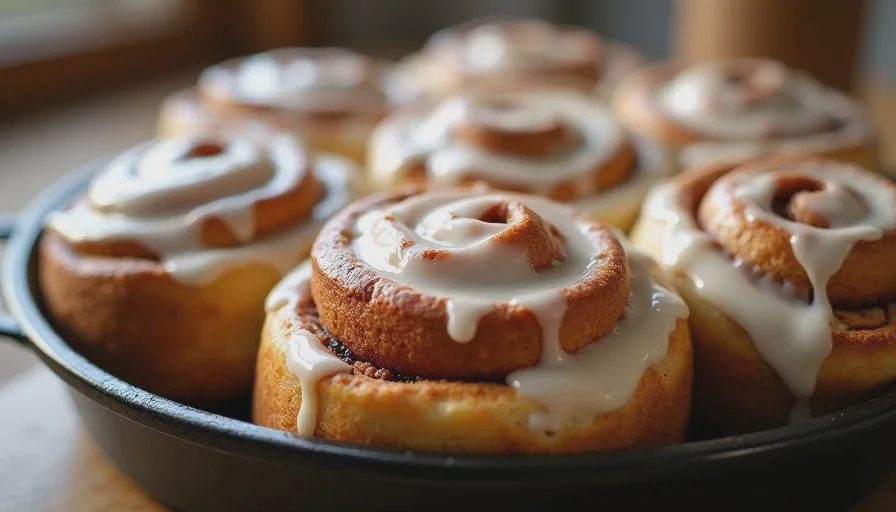
Remove the pan from the oven and let the rolls cool for a few minutes. While they are still warm, prepare a simple icing by stirring powdered sugar with enough milk or cream to reach a thick but pourable consistency. Add a few drops of vanilla if it is available. Drizzle or spread the icing over the warm rolls so it melts slightly into the surface.
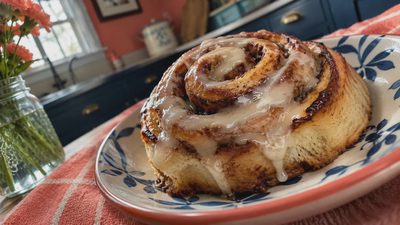
The rolls are best eaten while still warm. The crumb is softest, the filling is still slightly molten, and the icing is glossy. If any remain, store them covered at room temperature and reheat gently before serving. The texture will not be identical to the freshly baked version, but it will still be enjoyable the same day.
Common Adjustments and What to Watch
A few ordinary variables affect the result.
Dough that feels too sticky during mixing or rolling can be dusted lightly with flour. Adding large amounts of flour makes the rolls tough. A slightly tacky dough is preferable.
Dense rolls often result from insufficient rising time or yeast that is no longer active. Checking the yeast before mixing and allowing the dough and the shaped rolls to become truly light and airy prevents a heavy crumb.
Filling that leaks excessively usually means the butter was too warm or the rolls were packed too tightly. Keeping the butter soft but not melted and leaving a little space between the rolls reduces leakage. A small amount of filling at the bottom of the pan is normal and creates a pleasant caramelized edge.
Icing that is too thin runs off the rolls; icing that is too thick sits in clumps. Adjusting the liquid by the teaspoon brings it to a consistency that coats the surface without disappearing.
Oven temperature that runs hot can brown the tops before the centers are fully baked. An oven thermometer and attention to internal temperature produce more consistent results than relying solely on the suggested time range.
These adjustments are incremental. The small-batch format makes testing changes low-risk and low-waste. One pan supplies clear information for the next Saturday.
Fitting the Process into a Real Saturday
The active work for this batch is modest. Mixing and kneading take about 15 to 20 minutes. Rolling, filling, and shaping take another 10 to 15. The rises can happen while other morning tasks are underway or while the baker is still having coffee. Baking is short.
An overnight cold rise after shaping turns most of the work into something that happens the evening before. The morning then requires only time for the rolls to finish rising, the oven to preheat, and the short bake. This option is often the most practical for a Saturday that needs to stay flexible.
No stand mixer is required. The dough volume is small enough that hand mixing is efficient. The pan size matches what most kitchens already have. The yield matches what a small household can finish while the rolls are still at their best.
A small batch of cinnamon rolls provides the pleasure of a warm, sweet, enriched bread without the scale of a bakery tray. The process stays within the limits of an ordinary home kitchen and an ordinary Saturday morning. The rolls come out soft, fragrant, and sized for the people who will actually eat them. That balance is what makes the small batch worth repeating.
Small batch, real life, something worth sharing.


No notes yet — write the first one.