
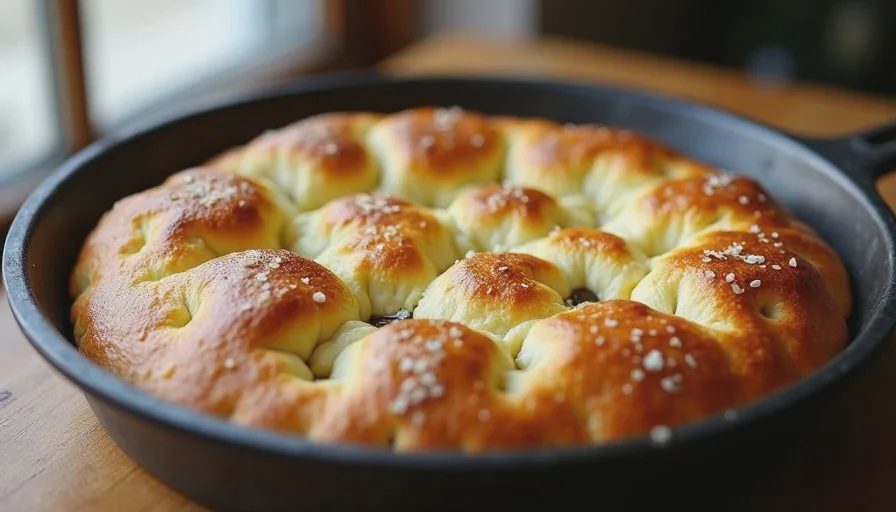
A 9-inch pan of focaccia is a practical size for most small households. It yields enough bread for a meal with a little left over, yet it does not fill the kitchen with a large dough or leave a surplus that must be frozen or watched for staling. The method that follows is designed for an ordinary weeknight: hand mixing, flexible rising times, and a baking schedule that can start after work and finish by dinner.
I began scaling focaccia downward after years of bakery production where large trays were the standard. At home the same formulas created more bread than we would finish while the crust was still crisp and the interior still tender. Focaccia is at its best the day it is baked. By the next day the crust softens and the texture changes. A 9-inch version keeps the pleasure of fresh focaccia without the excess.
This dough uses ordinary ingredients—flour, water, yeast, salt, and olive oil—and requires no stand mixer. The small quantity makes it easy to mix and fold by hand. The pan size matches what many kitchens already own, so no special equipment is needed.
Why a 9-Inch Pan Works
Most focaccia recipes are written for a half-sheet or a large rectangular pan. Those yields make sense for gatherings or for bakers who want leftovers. In a household of two or three, the volume often exceeds what will be eaten while the bread is at its peak. A 9-inch round or square pan produces a focaccia that can be finished in one or two meals.
The smaller dough is easier to handle. Mixing and folding take less time and less physical effort. The bulk fermentation happens in a modest bowl that fits easily in a corner of the counter or in the refrigerator. The final rise and baking occur in a pan that does not dominate the oven.
Timing is also more flexible. A dough this size can be mixed in the evening, left to rise at room temperature or in the refrigerator, and baked when it is convenient. The active work is limited to mixing, a few folds, transferring to the pan, and dimpling. The rest of the process happens without constant attention.
These practical advantages do not change the character of the bread. The focaccia still has a crisp, olive-oil-rich crust and an open, tender interior when the dough is handled with attention to its actual condition rather than rigid clock times.
Ingredients and Basic Ratios
The ingredient list is short and reliable.
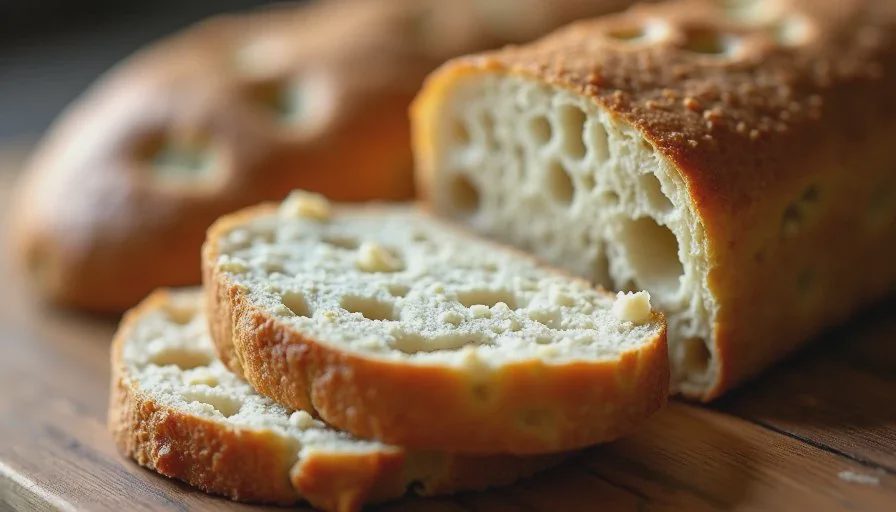
All-purpose flour works well for this style of focaccia. A moderate protein level produces a tender crumb with enough structure to hold open holes. Bread flour can be used if a chewier texture is preferred, but all-purpose keeps the bread softer and more everyday.
Water hydrates the flour and creates the steam that helps open the crumb. The dough is moderately hydrated—wet enough to feel soft and slightly sticky, but not so wet that it is difficult to handle by hand. Warm water helps the yeast activate if the kitchen is cool; room-temperature water is fine if the kitchen is already warm.
Yeast—instant or active dry—provides the lift. Instant yeast can be mixed directly with the flour. Active dry yeast benefits from a brief proof in the water. The amount is modest; this is not a heavily yeasted dough that races through fermentation.
Salt strengthens the gluten network and balances the flavor. It should not be omitted or significantly reduced.
Olive oil is essential for both the dough and the pan. A little oil in the dough contributes to tenderness and flavor. A more generous amount in the pan and on the surface creates the characteristic crisp, golden crust and prevents sticking. Use a good everyday olive oil; the expensive finishing oils can be reserved for drizzling after baking if desired.
These ingredients are pantry staples for most bakers who make any bread at all. Their reliability comes from consistent measuring and attention to dough feel rather than from specialty items.
Mixing and Developing the Dough by Hand
Hand mixing is efficient at this scale.
Combine the flour, yeast, and salt in a medium bowl. Add the water and a small amount of olive oil. Stir with a spatula or wooden spoon until a shaggy dough forms and no dry flour remains. The dough will look rough and sticky at this stage.
Let the dough rest for 10 to 15 minutes. This short rest allows the flour to hydrate fully and makes the subsequent folds more effective.
Perform a series of gentle stretch-and-folds or coil folds directly in the bowl. Wet your hand to prevent sticking. Reach under the dough, stretch it upward, and fold it over itself. Rotate the bowl and repeat. Four to six folds spaced 15 to 20 minutes apart are usually enough for a dough this size. The dough will gradually become smoother, stronger, and more cohesive.
The dough is ready for bulk fermentation when it feels elastic, holds a shape after folding, and shows early signs of expansion. It does not need to pass a perfect windowpane test. Adequate strength for an open crumb is sufficient.
Because the quantity is small, it is easy to feel changes in the dough from one fold to the next. Over-working is less common than under-developing; stop when the dough has clear strength and a smoother surface.
Bulk Fermentation and Timing Options
Bulk fermentation develops flavor and structure. For a weeknight schedule the timing can be adjusted to fit the day.
At cool room temperature the dough usually needs 1 to 2 hours to become airy and increased in volume. In a warmer kitchen the time shortens. The dough is ready when it looks puffy, feels light, and shows bubbles on the surface or sides of the bowl.
For more flexibility the dough can be mixed in the evening and placed in the refrigerator for an overnight bulk. Cold fermentation slows the yeast and develops deeper flavor. The next day the dough can be brought toward room temperature, transferred to the pan, and given a final rise before baking. This option turns focaccia into a mostly hands-off process that fits around work or other evening tasks.
The end of bulk fermentation is judged by the dough’s condition rather than the clock. A dough that has not expanded enough will produce a denser focaccia. A dough that has gone too far may be sticky and weak. Learning the visual and tactile signs for the specific flour and kitchen temperature makes the process more reliable over time.
Transferring to the Pan, Dimpling, and Final Rise
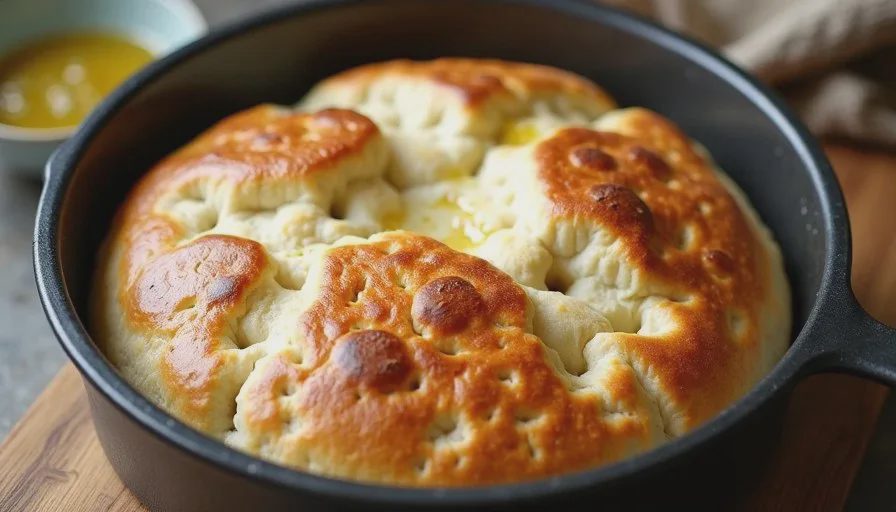
Once the dough has completed bulk fermentation, pour a generous amount of olive oil into the 9-inch pan. Tilt the pan so the oil coats the bottom and sides. Transfer the dough into the pan. It may resist spreading at first. Oil your hands and gently press and stretch the dough toward the edges. If it springs back, let it rest for 10 minutes and try again. The dough will eventually relax and fill the pan.
Dimple the surface firmly with oiled fingertips, pressing all the way to the bottom of the pan in places. The dimples hold olive oil and create the characteristic uneven surface. Drizzle additional oil over the top so it pools in the dimples. Sprinkle with flaky salt or any other toppings at this stage if desired.
Cover the pan and let the dough rise until it looks puffy and airy. This final proof usually takes 30 to 60 minutes at room temperature, depending on how cold the dough was and how warm the kitchen is. The dough is ready when a gentle poke leaves a slight indentation that fills back slowly.
If the schedule requires a pause, the dimpled dough can be refrigerated for a few hours. Bring it back toward room temperature and allow additional rising time before baking.
Baking and Finishing
Preheat the oven to 425°F to 450°F. A hot oven gives the focaccia a good oven spring and helps set the crust quickly.
Bake until the top is deep golden and the internal temperature reaches approximately 200–205°F. Total time for a 9-inch focaccia is usually 20 to 28 minutes. Rotate the pan halfway through if the oven has hot spots. The bread should sound hollow when tapped on the bottom and feel light for its size.
Remove the focaccia from the pan while it is still hot and transfer it to a rack. This keeps the bottom from steaming and softening. A final light drizzle of olive oil and an extra pinch of flaky salt can be added while the bread is hot if desired.
Focaccia is best eaten the day it is baked. The crust is crispest within the first few hours. If leftovers remain, store them loosely covered at room temperature and reheat in a moderate oven to restore some of the texture. Freezing is possible but changes the crust; it is better to bake only as much as will be enjoyed fresh.
Common Adjustments and What to Watch
A few ordinary variables affect the result.
Flour absorbency changes the feel of the dough. If the dough seems unusually stiff, a small additional amount of water can be worked in during the folds. If it seems soupy, a light dusting of flour during folding helps. The target is a soft, slightly sticky dough that still has strength.
Kitchen temperature influences timing more than any other factor. In a cool kitchen the rises take longer; in a warm kitchen they move faster. Observing the dough rather than the clock remains the most reliable guide.
Oven behavior varies. An oven that runs hot can over-brown the top before the interior is fully baked. One that runs cool may need a few extra minutes. An oven thermometer and attention to color and internal temperature produce more consistent results than relying solely on the suggested time range.
Toppings should be added with restraint. Heavy or wet toppings can weigh the dough down or release moisture that softens the crust. Simple flaky salt, a few herbs, or thin slices of garlic are usually enough for a weeknight version.
These adjustments are incremental. The 9-inch format makes testing changes low-risk and low-waste. One pan supplies clear information for the next bake.
Fitting Focaccia into a Weeknight
The active work for this focaccia is modest. Mixing and the initial folds take about 20 minutes spread over an hour. Transferring to the pan and dimpling take another 5 to 10 minutes. Baking is short. The rises can happen while other dinner preparations are underway or while the baker is occupied with something else.
An overnight cold bulk turns the process into something that can start the night before and finish the next evening with very little hands-on time. A same-day timeline works equally well if the afternoon or early evening is free.
No stand mixer is required, which keeps the method accessible. The dough volume is small enough that hand mixing is efficient rather than tiring. The pan size matches what most kitchens already have.
A 9-inch focaccia provides enough bread for a meal without creating a surplus that demands attention later. The crust stays crisp, the interior stays open and tender, and the process stays within the limits of an ordinary home kitchen and an ordinary weeknight. That balance is what makes the small batch useful.
Small batch, real life, something worth sharing.


No notes yet — write the first one.